Ganache for Blockchain

Ganache is used for setting up a personal Ethereum Blockchain for testing your Solidity contracts. It provides more features when compared to Remix. You will learn about the features when you work out with Ganache. Before you begin using Ganache, you must first download and install the Blockchain on your local machine.

Downloading Ganache

You may download Ganache from the following URL −https://truffleframework.com/ganache

Ganache is available on several platforms. We developed and tested this entire tutorial on Mac. Thus, the screenshots below will show Mac installation. When you open the installation URL given above, it automatically detects your machine’s OS and directs you to the appropriate binary installation. The screenshot below shows the Mac installation.

Downloading Ganache

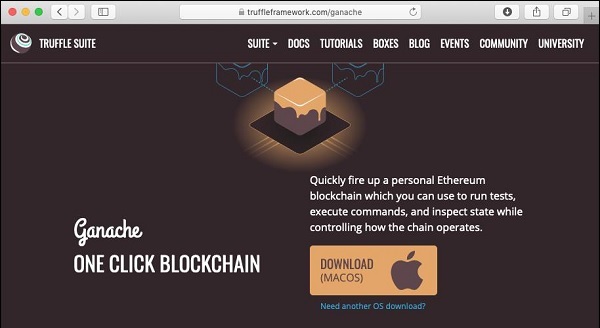
When you click on the DOWNLOAD button, it will begin downloading the DMG file for Mac installation.

Installing Ganache

Locate the “Ganache-2.0.0.dmg” in your Downloads folder and double-click on it to install Ganache. Upon successful installation, the following screen will appear −

Installing Ganache

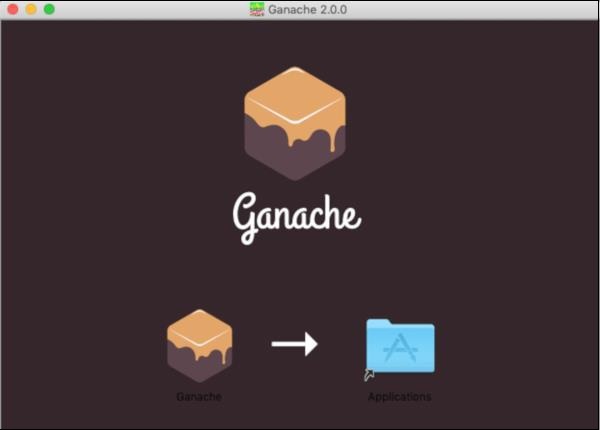
Drag Ganache icon to the Application folder. Now, Ganache is available as an application on your Mac.

If you are using some other OS, follow the instructions provided for successful installation.

Starting Ganache

Now locate Ganache in your Application folder and double-click on its icon to start Ganache.

Ganache Desktop

When Ganache starts, the Ganache screen will appear as shown below −

Ganache Desktop

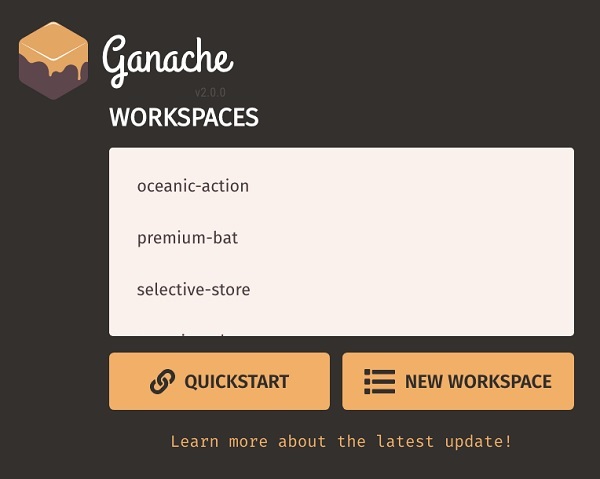
Click QUICKSTART to start Ganache. You will see Ganache console as shown below −

QUICKSTART

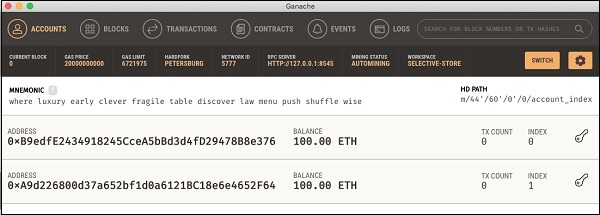
The console in the above screenshot shows two user accounts with balance of 100 ETH (Ether – a currency for transaction on Ethereum platform). It also shows a transaction count of zero for each account. As the user has not performed any transactions so far, this count is obviously zero.

We will now get an overview of a few important screens of Ganache that are of immediate relevance to us.

Similar Posts

  • Compiling the Contract

    Once you write the complete contract code, compiling it in this IDE is trivial. Simply click on the Autocompile checkbox in the IDE as shown in the screenshot below − Alternatively, you may compile the contract by clicking the button with the title “Start to compile”. If there is any typo, fix it in the code window. Make…

  • A Quick Walkthrough

    We will now briefly understand what is available on the Ganache desktop. On the Desktop, at the top we have several menu options out of which a few are of immediate relevance to us. The menu bar is highlighted in the screenshot below − Clicking on the TRANSACTIONS menu shows all the transactions performed so far. You…

  • Summary

    You learned how to write your own digital contract in Solidity. You developed and tested the contract interface in the Remix IDE. For further multi-user testing, you deployed this contract on Ganache Blockchain. On Ganache, you created two user accounts. The first account was used for publishing the contract. The second account was used for…

  • Limitations of Remix

    The Remix IDE that you have used so far is good enough for development and initial testing of your contract. For real-life contracts, you need to test your functionality against various parameters. Remix cannot create real (non-test) user accounts to transfer funds between them. You have no control over the configuration of the Blockchain created…

  • Introduction

    A huge success of Bitcoin raised interest in the minds of several to create their own currencies. Looking at the advantages offered by Bitcoin – a digital currency, people wanted to use the concept of Blockchain in their own applications. People wanted to move out of their physical contracts to smart digital contracts where several…

  • Creating Contract Users

    In this chapter, we will learn the creation of contract users on Ethereum. To create a user for our published contract, we will create another MyEtherWallet client attached to the same Ganache Blockchain that you have been using in the previous steps. Go to the MyEtherWallet screen and create a new wallet. Click on the contracts menu and select the “Interact with…