For client application, you will use MyEtherWallet.
Download MyEtherWallet software from the following URL −
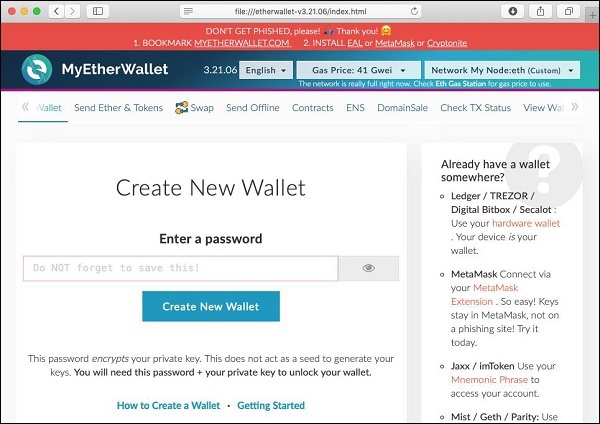
If required, unzip the downloaded file and open index.html. You will see the following interface for creating a new wallet.
For client application, you will use MyEtherWallet.
Download MyEtherWallet software from the following URL −
If required, unzip the downloaded file and open index.html. You will see the following interface for creating a new wallet.
A huge success of Bitcoin raised interest in the minds of several to create their own currencies. Looking at the advantages offered by Bitcoin – a digital currency, people wanted to use the concept of Blockchain in their own applications. People wanted to move out of their physical contracts to smart digital contracts where several…
Now, you are ready to interact with the contract that you have deployed. Go back to MyEtherWallet desktop and click on the “Interact with Contract” tab as shown in the screenshot below − Paste the contract address that you previously copied in the “Contract Address” field. You also need to paste the “ABI / JSON Interface” of the contract…
In this chapter, we will learn how to deploy contract on Ethereum. Click on the Run menu option to deploy the contract. The following screen will appear. The contract name is shown in the highlighted list box. Below this, you will notice the Deploy button, click on it to deploy the contract. The contract will be deployed…
When you click the deployed contract, you will see the various public methods provided by the contract. This is shown in the screenshot below. The first method send contains an edit box in front of it. Here, you will type the parameters required by the contract method. The other two methods do not take any parameters. Sending…
Click on the settings icon at the top right hand side of the screen as shown in the screenshot below − The server settings screen will appear as shown below − Here, you will be able to set the values of server address and the port number for your Ganache server. For the time being,…
We will now briefly understand what is available on the Ganache desktop. On the Desktop, at the top we have several menu options out of which a few are of immediate relevance to us. The menu bar is highlighted in the screenshot below − Clicking on the TRANSACTIONS menu shows all the transactions performed so far. You…