For client application, you will use MyEtherWallet.
Download MyEtherWallet software from the following URL −
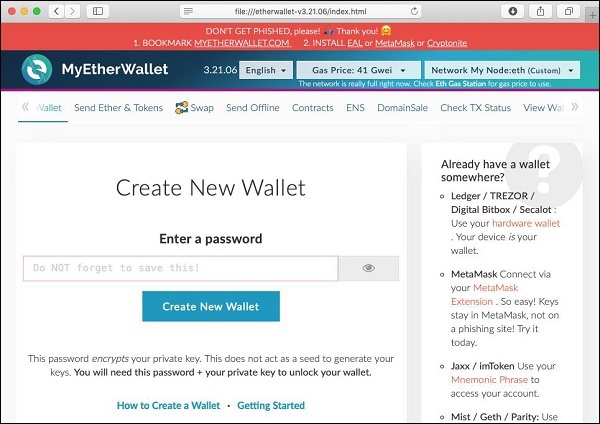
If required, unzip the downloaded file and open index.html. You will see the following interface for creating a new wallet.
For client application, you will use MyEtherWallet.
Download MyEtherWallet software from the following URL −
If required, unzip the downloaded file and open index.html. You will see the following interface for creating a new wallet.
Ganache is used for setting up a personal Ethereum Blockchain for testing your Solidity contracts. It provides more features when compared to Remix. You will learn about the features when you work out with Ganache. Before you begin using Ganache, you must first download and install the Blockchain on your local machine. Downloading Ganache You…
You have now created a wallet; this wallet is a client interface to the Blockchain. We will attach the wallet to the Ganache Blockchain that you have started in the earlier lesson. To do so, click on the Network dropdown box as shown in the screenshot below − Go to the bottom of the list. You will…
To deploy the contract, select the Contracts menu option as shown in the screenshot below − You will need to enter the contract’s bytecode on this screen. Remember, when you compile your Solidity contract code, it generated a bytecode that runs on EVM. You will now need to obtain this bytecode from Remix IDE. Go to the Remix…
Solidity is an object-oriented language especially developed for contract writing. It is a high-level language, which inherits traits from C++, Python, and JavaScript. The Solidity compiler compiles your source code into bytecode that runs on Ethereum Virtual Machine (EVM). For quick understanding of the Solidity syntax, look at the sample code in the IDE.pragma solidity…
We will now briefly understand what is available on the Ganache desktop. On the Desktop, at the top we have several menu options out of which a few are of immediate relevance to us. The menu bar is highlighted in the screenshot below − Clicking on the TRANSACTIONS menu shows all the transactions performed so far. You…
When you click the deployed contract, you will see the various public methods provided by the contract. This is shown in the screenshot below. The first method send contains an edit box in front of it. Here, you will type the parameters required by the contract method. The other two methods do not take any parameters. Sending…